How to Prepare for Smile Makeover Photography
A smile makeover photography session helps your dental team document your teeth, gums, lips, and facial proportions before treatment begins. These images support diagnosis, shade selection, treatment planning, and realistic discussions about veneers, crowns, whitening, aligners, or dental implants.
Professional dental photographs can feel more formal than ordinary pictures, but preparation is straightforward. The goal is not to look perfect or pose like a model. It is to provide clear, consistent images that show your natural smile and help the dentist design a balanced result.
At TruDent Clinics in Izmir, photography may form part of a personalized cosmetic dentistry consultation. Knowing what to wear, how to prepare your mouth, and what to expect on the day can help you feel comfortable and make the records more useful.
Know The Purpose Of The Images
Dental photography usually includes several views rather than a single smiling portrait. Your dentist may take relaxed facial photographs, a full smile, close-up views of the teeth, retracted images showing the gum line, and profile or three-quarter angles. Some sessions also include images with your teeth slightly apart or your lips at rest.
These records allow the clinical team to assess tooth proportions, alignment, gum display, midline position, facial symmetry, and how your smile fits your features. They can also be compared with digital scans, X-rays, or study models when a more complex smile design is being considered.
Ask which photographs will be taken and whether they are intended for diagnosis, treatment planning, progress monitoring, or before-and-after documentation. Understanding the purpose makes the appointment feel less mysterious and gives you an opportunity to raise concerns about privacy or image use.
Prepare Your Teeth And Mouth
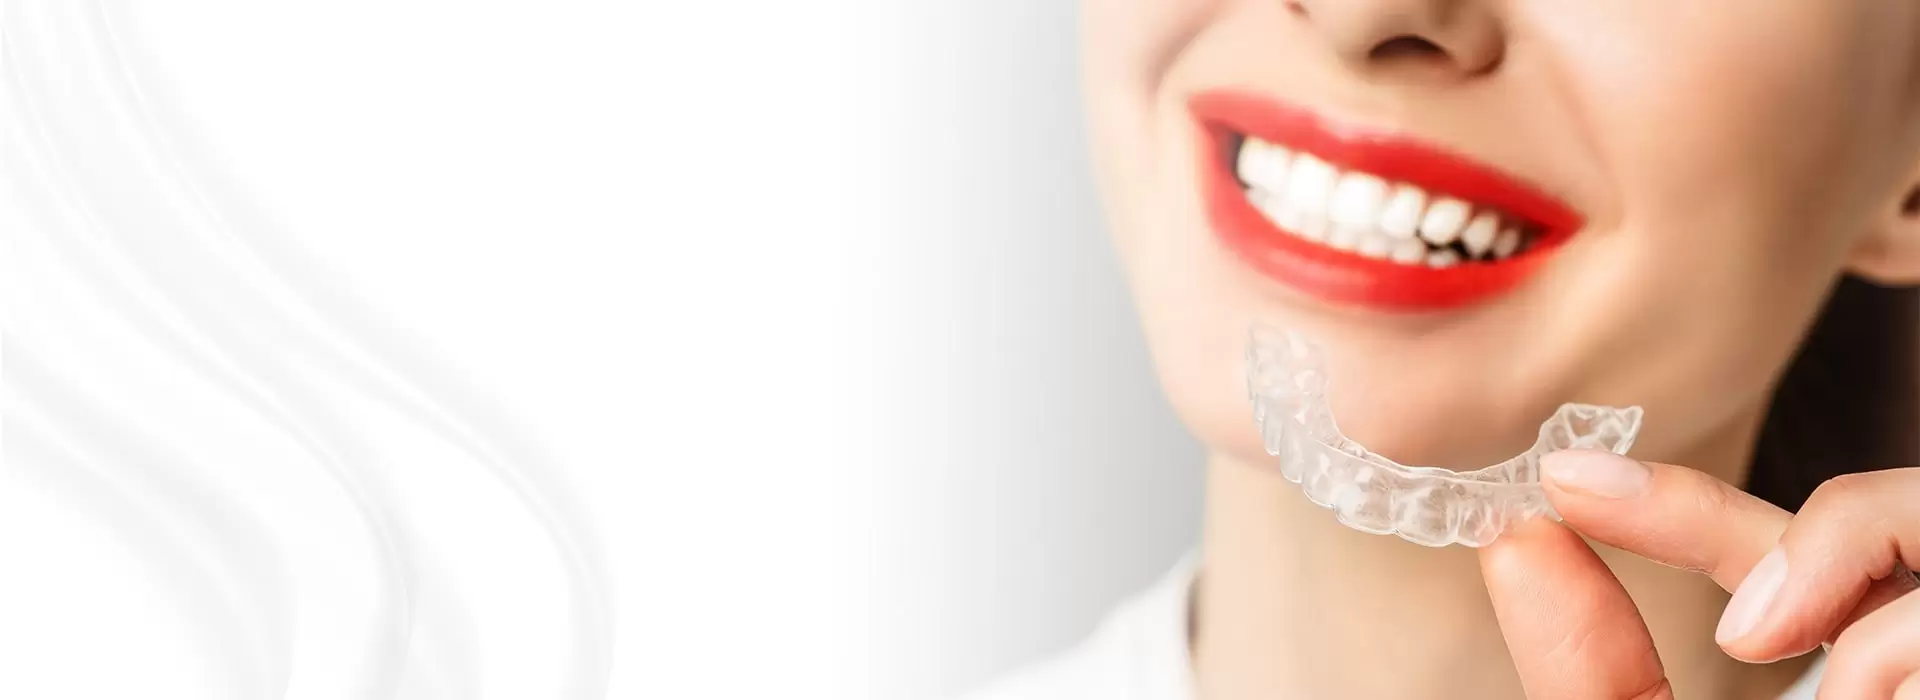
Brush and floss gently before the appointment, especially around the gum line and between the teeth. Clean teeth make it easier to evaluate natural color, surface texture, plaque levels, and existing dental work. If you use removable aligners, retainers, or a partial denture, bring them with you and ask whether they should be photographed in place.
Avoid aggressive brushing, whitening strips, or abrasive products immediately before the session. These may irritate the gums or create temporary sensitivity without improving the quality of the images. If your gums bleed regularly, your teeth are painful, or you have a loose restoration, tell the clinic before the photography begins.
Try to arrive hydrated, but avoid strongly colored drinks such as coffee, black tea, cola, or red wine shortly beforehand. These beverages can temporarily stain the tooth surface or leave pigment around the lips. A plain water rinse can help if you have eaten or drunk something before the appointment.
Choose Clothing And Grooming Carefully
Your clothing does not change the health of your teeth, but it affects how the smile photographs. Simple, neutral colors usually keep attention on the face. Busy patterns, high-contrast stripes, reflective fabrics, and large logos can distract from the dental images, particularly when the clinic also takes head-and-shoulders photographs.
A clean, natural appearance is generally preferable to heavy styling. Keep lipstick, lip gloss, and strong lip liner to a minimum because they may transfer to retractors or alter the apparent color of the teeth and gums. If you wear makeup, choose a finish that does not create excessive shine around the mouth.
| Choice |
Usually helpful |
Why it works |
| Clothing color |
Solid navy, grey, cream, or another muted shade |
Keeps attention on the face and smile |
| Lip products |
Neutral balm or light, non-glossy color |
Reduces glare, transfer, and color distortion |
| Hair styling |
Hair secured away from the face |
Makes facial proportions and profile easier to assess |
| Accessories |
Small, simple items |
Prevents reflections and visual distraction |
| Facial expression |
Relaxed natural smile |
Shows how the teeth appear in everyday interaction |
If you have a planned engagement, wedding, interview, or other important event, mention it during the consultation. Your preferred appearance may influence the shade, tooth shape, degree of whitening, or timing of a smile makeover.
Discuss Your Goals Before The Camera
Photography is most useful when it reflects your priorities. Before the session, think about what you would like to change: discoloration, chipped edges, uneven tooth length, spacing, crowding, gummy smile appearance, old crowns, or the overall harmony of your smile. You do not need to know which treatment will solve the issue; that is part of the clinical assessment.
Bring a few examples of smiles you like if they help explain your preferences. Images can show whether you prefer a bright or natural shade, rounded or square tooth edges, a subtle result, or a more noticeable cosmetic transformation. Use them as references rather than exact templates, since tooth shape and facial proportions differ from person to person.
The dentist may also ask about previous treatments, sensitivity, jaw tension, clenching, or dissatisfaction with earlier dental work. Honest answers are important. For example, a patient who grinds their teeth may need a different restorative approach or protective plan than someone with no history of bruxism.
Patients comparing practices can also review practical guidance on choosing an Izmir dentist, including factors such as communication, treatment planning, credentials, and the clinic’s approach to patient care.
Understand The Session Process
A dental photographer or trained clinic team member may begin with facial images before moving to close-up dental views. You may be asked to sit upright, look directly at the camera, relax your lips, smile naturally, or hold a specific expression for a few seconds. Consistency matters more than speed, so the team may repeat an image if your head position or smile changes.
For intraoral images, cheek retractors or mirrors can be used to show the teeth clearly. They may feel unusual but should not cause significant pain. Tell the photographer if an instrument is uncomfortable, if your jaw becomes tired, or if you need a short break. Relaxing your face between shots can make the process easier.
Some clinics use digital smile design, facial scanning, or computer-assisted simulations alongside standard photographs. These tools can help illustrate possible changes, but a preview is not a guarantee of the final result. Ask how the images will be used, whether computer simulations are illustrative, and which factors could affect the completed treatment.
Protect Your Privacy And Records
Before any photography, clarify who will have access to the images and where they will be stored. Clinical photographs should be handled as part of your dental records, and promotional use should require separate permission. You can ask whether your full face will appear, whether identifying details will be removed, and whether you can decline marketing use while still receiving treatment.
If the images are being taken for a before-and-after comparison, ask how future photographs will be matched. Similar lighting, camera angle, facial expression, tooth dryness, and retraction help create a fair comparison. A dramatic change in lighting or posing can make results appear different from the actual clinical outcome.
Keep copies of treatment plans, shade information, and approved simulations if the clinic provides them. These records may be useful when discussing staged treatment, reviewing alternatives, or coordinating care if you later need maintenance or restorative adjustments.
Use A Simple Preparation Checklist
The day before your appointment, focus on ordinary oral care rather than last-minute cosmetic changes. Sleep well if possible, avoid anything that makes your gums tender, and check whether the clinic has given specific instructions about eating, dental cleaning, or existing appliances.
Use this checklist before leaving home:
- Brush and floss gently, then rinse with water.
- Avoid coffee, tea, tobacco, and strongly colored foods shortly before the session.
- Wear a simple top in a muted, solid color.
- Remove excessive lip gloss and choose minimal facial accessories.
- Bring a list of medications, dental concerns, previous treatments, and questions.
- Bring retainers, aligners, dentures, or other removable dental appliances if relevant.
If you have an active cold sore, swollen gums, a recent dental injury, or difficulty opening your mouth, contact the clinic before attending. Rescheduling may produce clearer images and a more comfortable experience, while also allowing urgent dental concerns to be assessed appropriately.
A well-prepared session gives your dentist better information without asking you to change who you are. Natural expressions, accurate medical details, and clear preferences are more valuable than forced poses or heavily edited images.
Schedule a consultation with TruDent Clinics to discuss your smile goals, photography needs, and suitable treatment options in Izmir. A personalized assessment can connect the images with a practical plan for whitening, veneers, crowns, aligners, implants, or other cosmetic and general dental care.