A practical guide to water flossers around dental implants
Learning how to use a water flosser effectively for cleaning around implants starts with treating the device as an addition to careful daily care. A targeted stream of water can flush plaque from implant crowns, gum margins and spaces that are difficult to reach with a toothbrush alone.
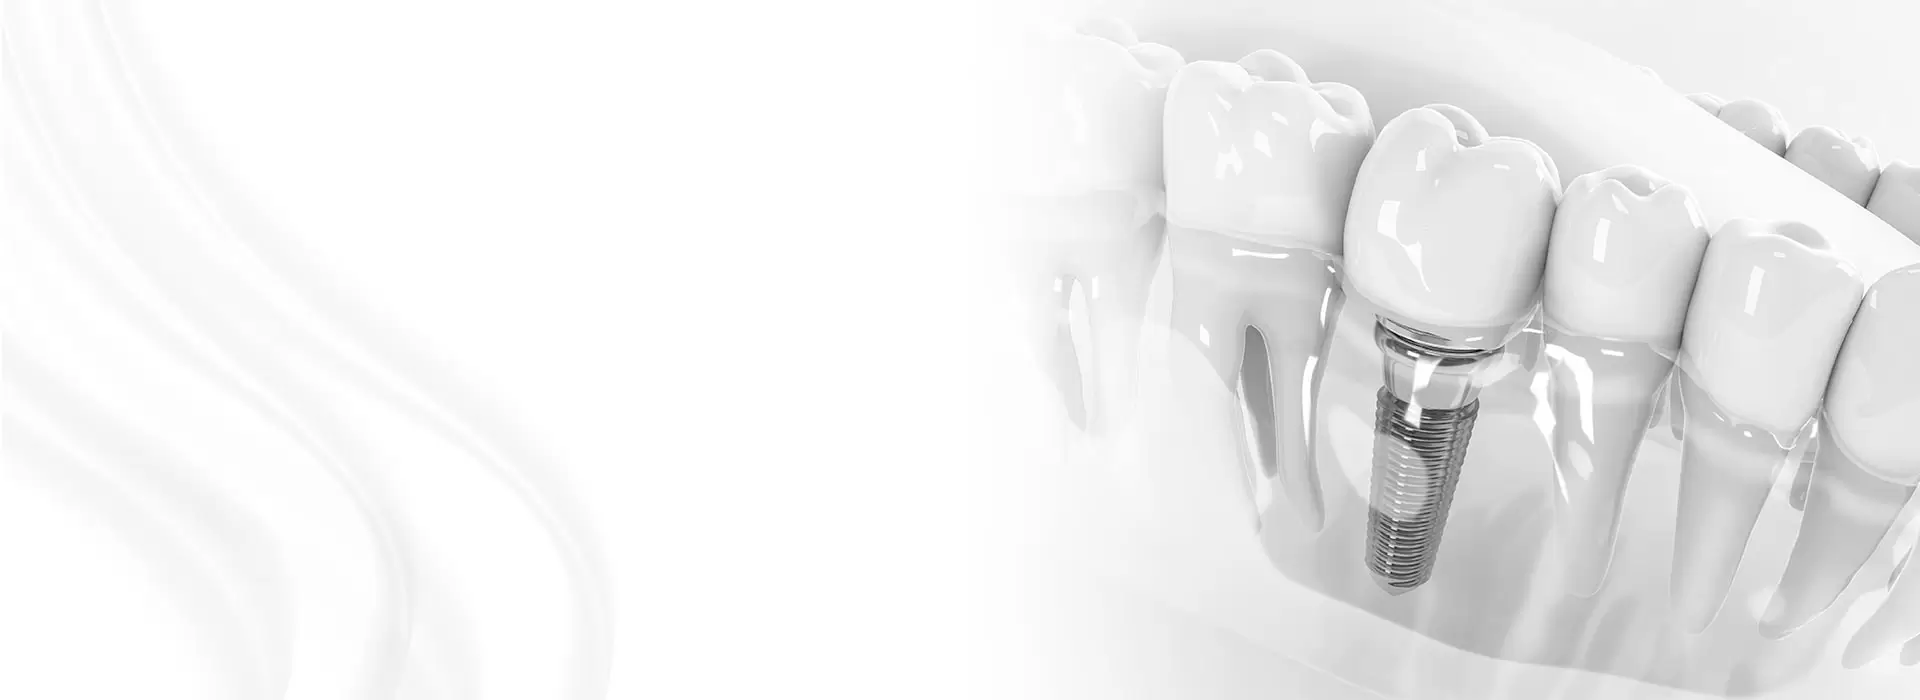
An implant does not decay like a natural tooth, but the gum tissue around it can still develop inflammation. Plaque that remains around the metal surface may cause peri-implant mucositis and, if it progresses, peri-implantitis, which can result in bone loss.
Consistency matters more than pressure. Patients in Australia often combine long commutes, coffee breaks, home working and regular exercise with busy household routines, making a cordless device with simple controls particularly practical for everyday use.
Why implant cleaning is different
An implant crown has a different shape from a natural tooth. Its edges may sit close to the gum, while spaces between an implant and a neighbouring tooth can trap food. Cleaning must protect the gum seal without forcing water into the tissues or scratching the crown surface.
Plaque control around an implant is therefore a combination of methods. Floss and interdental brushes contact plaque mechanically, while a water flosser rinses loose debris from several angles. Professional care remains necessary because no home device can remove hardened calculus from beneath the gumline.
| Cleaning tool |
Role around an implant |
Best technique |
Main limitation |
| Water flosser |
Rinses the gum margin and difficult-to-reach spaces |
Use a gentle stream at an angle |
Cannot remove hardened calculus |
| Dental floss |
Cleans between an implant and adjacent tooth |
Slide gently without forcing |
May be difficult around some crowns |
| Interdental brush |
Removes plaque from wider implant gaps |
Use the size recommended by your dentist |
A wrong size can irritate the gum |
| Soft toothbrush |
Cleans broad crown and gum-facing surfaces |
Use small, gentle strokes |
Does not reach every side of an implant |
Choosing a suitable water flosser
Look for adjustable pressure, a clearly marked reservoir, a comfortable handle and a replaceable nozzle. A warm-water setting can be useful, but the device must also tolerate the solution approved by its manufacturer. Some basic models offer only one pressure level, which may provide less control during early healing.
Compact apartments in Sydney and Melbourne can have limited bathroom space and limited access to a nearby power outlet. A cordless, rechargeable unit is easier to store and use than a bulky mains-powered model. When travelling within Australia, check the voltage requirements if you bring the device overseas or use an overseas model.
Water flossers are widely available through Australian pharmacies and online retailers, so compare pressure settings, nozzle availability and warranty cover rather than choosing on price alone. Private health extras policies generally treat them as personal care products, although some policies provide preventive allowances that may be usable for approved dental services.
Preparing the device and implant site
Before using the device, fit the nozzle securely and run it over a sink until the flow is steady. Begin on the lowest pressure setting, especially if the implant is still healing or your gums are sensitive. The reservoir should be filled with lukewarm water unless your dentist or the manufacturer recommends a specific solution.
Do not add bleach, alcohol, concentrated antiseptic mouthwash or essential oils. These mixtures can damage components or irritate tissue. If a medicated rinse is appropriate, use only a product and dilution endorsed for your oral irrigator.
Hot summers in Brisbane and Perth can lead to frequent sports drinks and bottled water, while Adelaide’s relatively hard tap water may leave mineral deposits inside some devices. Rinse the unit thoroughly after use, empty the reservoir and follow the manufacturer’s cleaning and descaling instructions. Never pour hot water into the reservoir to remove a coating.
Using the correct cleaning technique
Lean over the sink with the mouth slightly open so water can drain freely. Place the nozzle near the implant crown, aim along the gumline at roughly a 45-degree angle and leave a small gap, usually around 1–2 millimetres. The tip should not touch the implant, gum or crown with force.
Move slowly around the entire implant, treating the front, back and both sides. Short bursts of one or two seconds can improve control, although the appropriate setting depends on the device. Spending about 10–15 seconds on each side is generally more useful than holding the jet in one spot.
Brush first, then clean between the teeth, and finish with the water flosser to flush away dislodged debris. After every use, turn the device off, wipe the nozzle and allow the reservoir and handle to dry. Stop if the technique causes sharp pain, increasing bleeding or swelling.
Focusing on commonly missed areas
The most common errors are using maximum pressure, aiming directly into the gum pocket and repeating the same small area. Water should flow along the tissues and out through the mouth; it should not be forced deep beneath the gum margin. Work methodically so the back of the implant receives the same attention as the visible front.
Crowns, bridges and full-arch implant restorations require extra care around their undersides and connection points. Clean underneath only where access is safe, and do not dislodge a provisional crown or push into an unseated margin. A removable prosthesis should be cleaned separately according to its manufacturer’s instructions.
Healed implants usually tolerate a gentle irrigator well, but immediate postoperative instructions from the surgeon take priority. Avoid directing the jet at sutures, open wounds or an exposed bone surface. If an implant feels unstable, or the crown sounds loose, stop using the device and arrange an examination.
Setting frequency and recognising warning signs
Most patients use a water flosser once or twice daily, with additional rinsing after meals if food becomes trapped. Your dentist may recommend a different schedule according to plaque levels, gum health and the design of the restoration. Even with good home care, implant reviews and professional cleaning are often needed every three to six months.
Medicare’s Child Dental Benefits Schedule covers specified services for eligible children, while routine adult implant maintenance is generally funded privately. Private extras limits and waiting periods vary between policies. Treatment should be planned by an AHPRA-registered dental practitioner who can assess whether home irrigation is appropriate.
Contact your dentist promptly for persistent bleeding, increasing pain, a bad taste, pus or swelling around the implant. Fever, facial swelling, difficulty swallowing or breathing requires urgent medical assessment. These symptoms may indicate infection or a loose component and should not be managed with stronger water pressure or extra cleaning.
Building a reliable daily care plan
A useful routine is brief enough to perform consistently. Keep the device beside your toothbrush, use it after brushing and interdental cleaning, and record any pain or bleeding that does not settle. Regular professional reviews can identify plaque traps or changing gum tissues before they become significant.
Your daily implant care should include these practical steps:
- Choose a device with adjustable pressure and a soft, implant-compatible nozzle.
- Fill the reservoir with lukewarm water or a manufacturer-approved solution.
- Brush the crown and gum line before using the water flosser.
- Clean between the implant and adjacent teeth with floss or a suitable interdental brush.
- Hold the nozzle at an angle and use short, controlled bursts around every side.
- Rinse and dry the device after use and attend scheduled professional reviews.
To turn this advice into a safe routine, schedule a clinical review and ask your dental team to watch you clean around the implant. For personalised implant aftercare, request professional guidance and arrange a consultation before buying a device or changing your technique.